How to make a moving image animation effect in Squarespace 7.0 & 7.1
Some people say that Squarespace isn't the best website builder because everything looks like a cookie-cutter template. But I don't agree! There are some great tips and tricks I've learned as a Squarespace website designer for female entrepreneurs and today I'm going to share one of my favourite ways to transform your site from just plain "meh" to something that stands out from your competitors!
First off, let's chat about why animations are amazing and something you should definitely be doing on your website...
Why I love adding animation to Squarespace websites!
I love to create websites that absolutely blow my clients away, and one subtle way I do that is through animations! I could go on and on about all the different ways you can use them and why they're so amazing, but here are just five reasons why you should be adding animations to your website.
The movement engages visitors and keeps them on your website for longer
It adds style and elegance to your website so you can elevate the user experience
It shows off your unique and amazing personality
The motion is unexpected and fun for website visitors
It's a great way of showcasing multiple examples of work without the user having to endlessly scroll down the page
Now that you know why animations are so amazing for your website, let's dive into the step-by-step tutorial of how to do so on your Squarespace website.
How to make a moving image animation effect in Squarespace 7.0
Here's a simple way to add animation in Squarespace 7.0, stay tuned until the end to see how to tweak these instructions if you're using Squarespace 7.1!
Pick around 3-5 images you want to use
Go to the backend of your Squarespace website (simply type in your URL and then hit the escape key to get there fast!)
Go to the page where you want to add in your animated image
Click on an insert point and select slideshow gallery image block
Upload the images
Make sure thumbnail images and arrows are deselected
Tick the ‘automatically transition between slides box’ and pick the timings between image transitions. 3-5 seconds is usually a good starting point - if you have text or specific details in the images, then you may need to add a few seconds on
Hit save and you’re done!
For those more visual learners - here’s a quick video showing you how I set up an image gallery animation below!


You can view a live example of this animated image on my website in action here!
Now the newest version of Squarespace, 7.1, only allows gallery blocks on blog, events, and product pages. However, there's another way to achieve this effect even though this hack won't work, and that's in Canva!
Add more personality with design details and collage effects in Canva
If you want to add even more personality to your website on top of this hack, then I’m going to walk you through how to use Canva to create a collage-style image and turn it into a slideshow for your Squarespace website. Take a look at the animated image below to see what this collage will look like on your website!
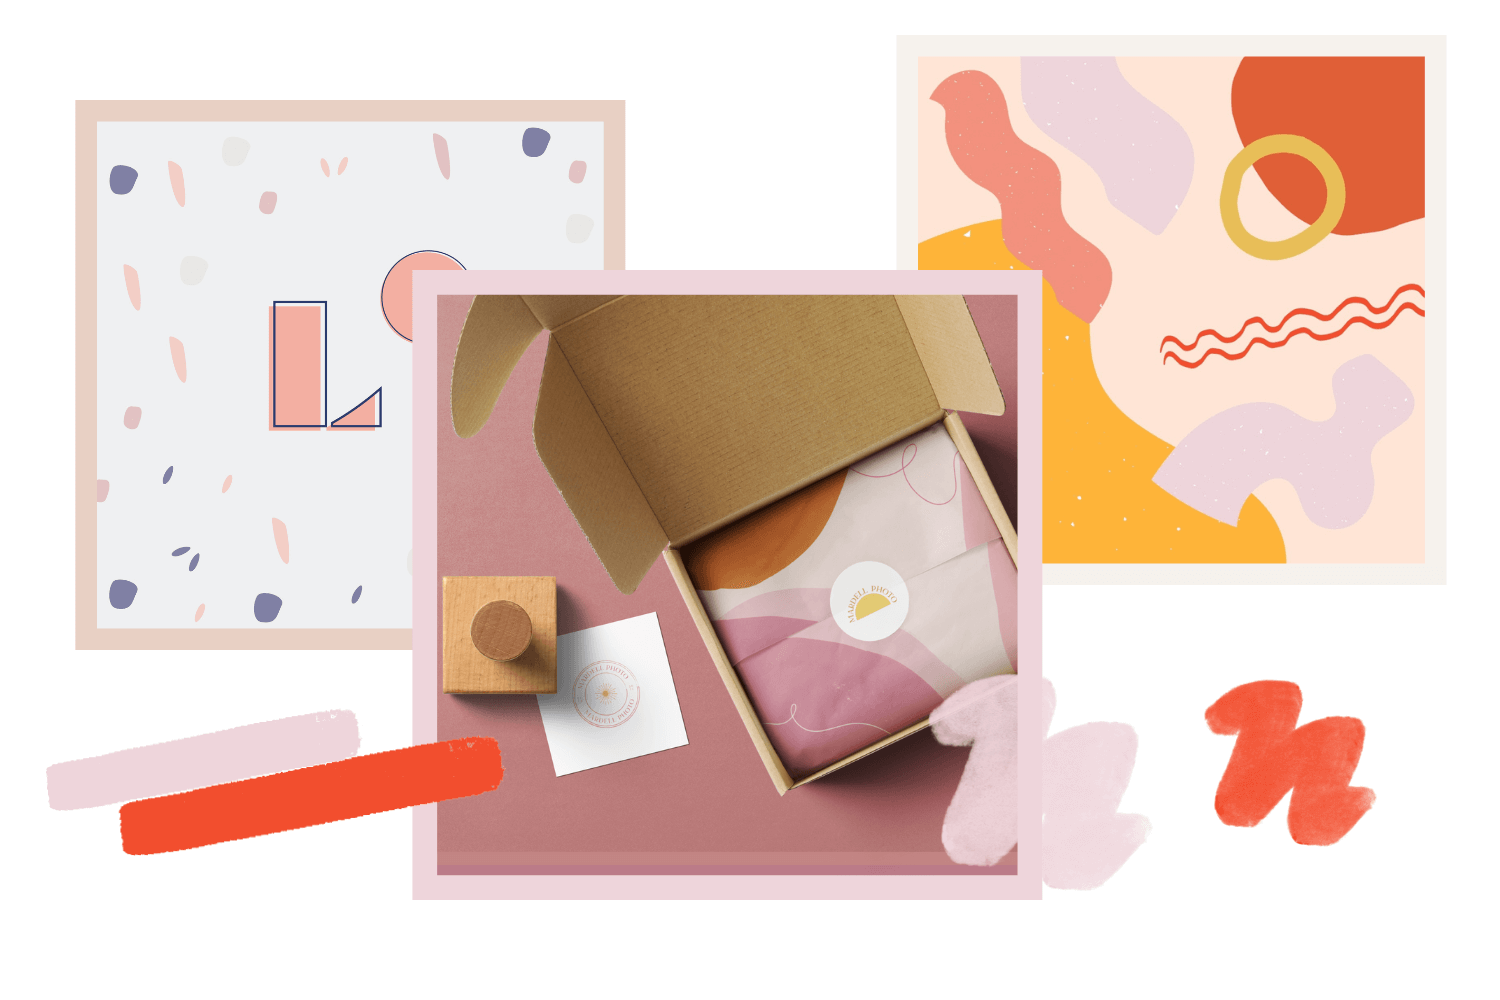
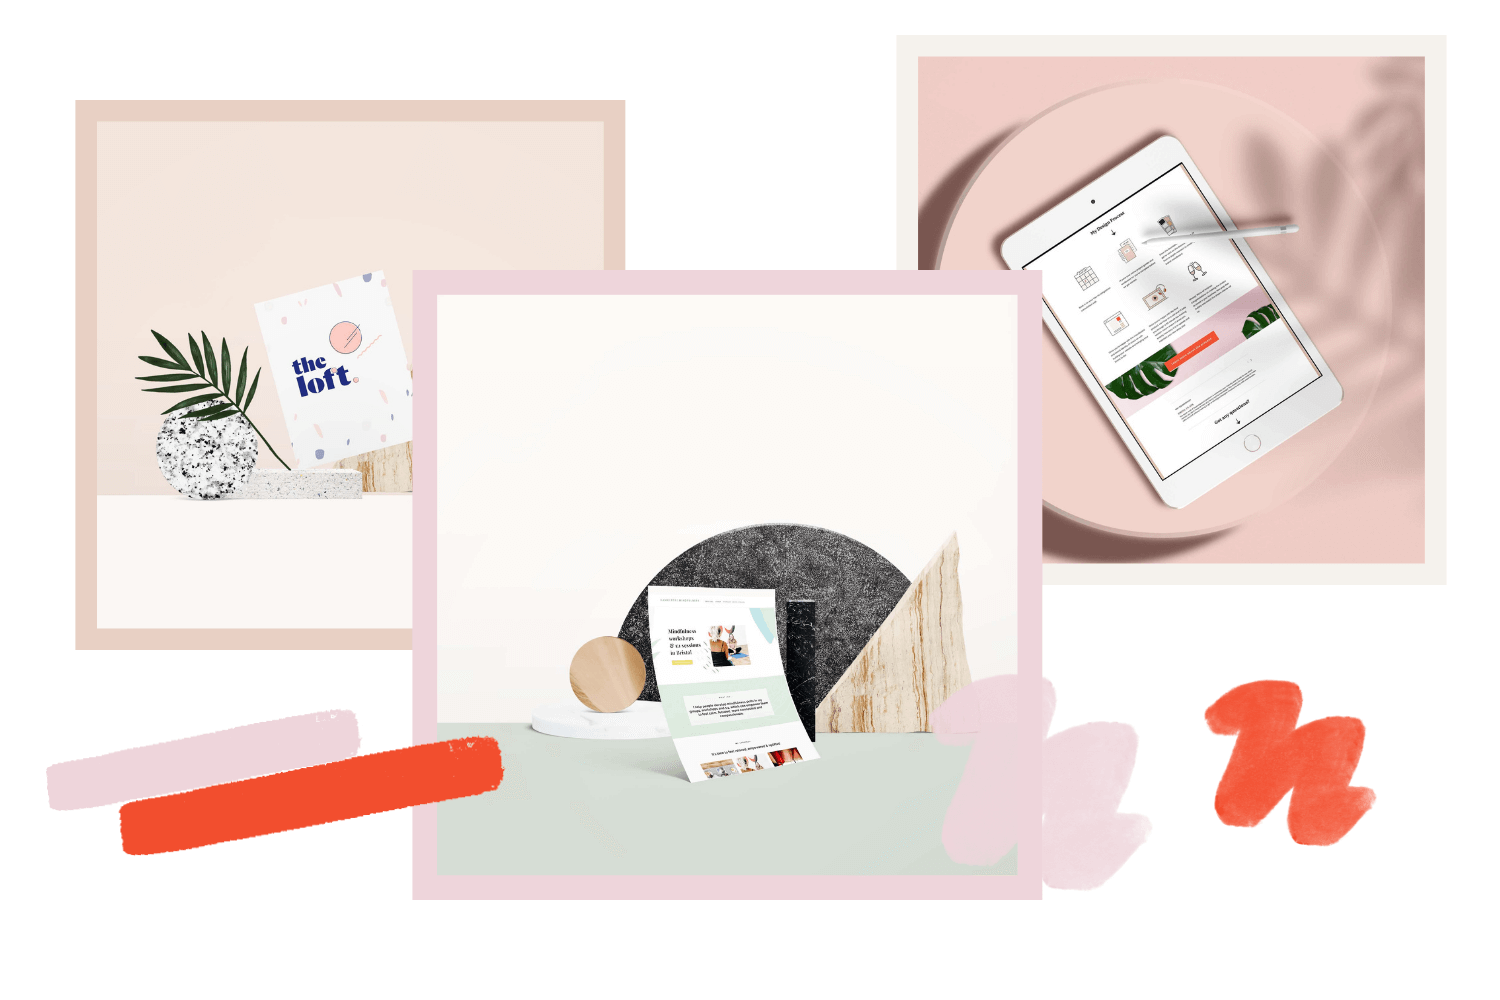
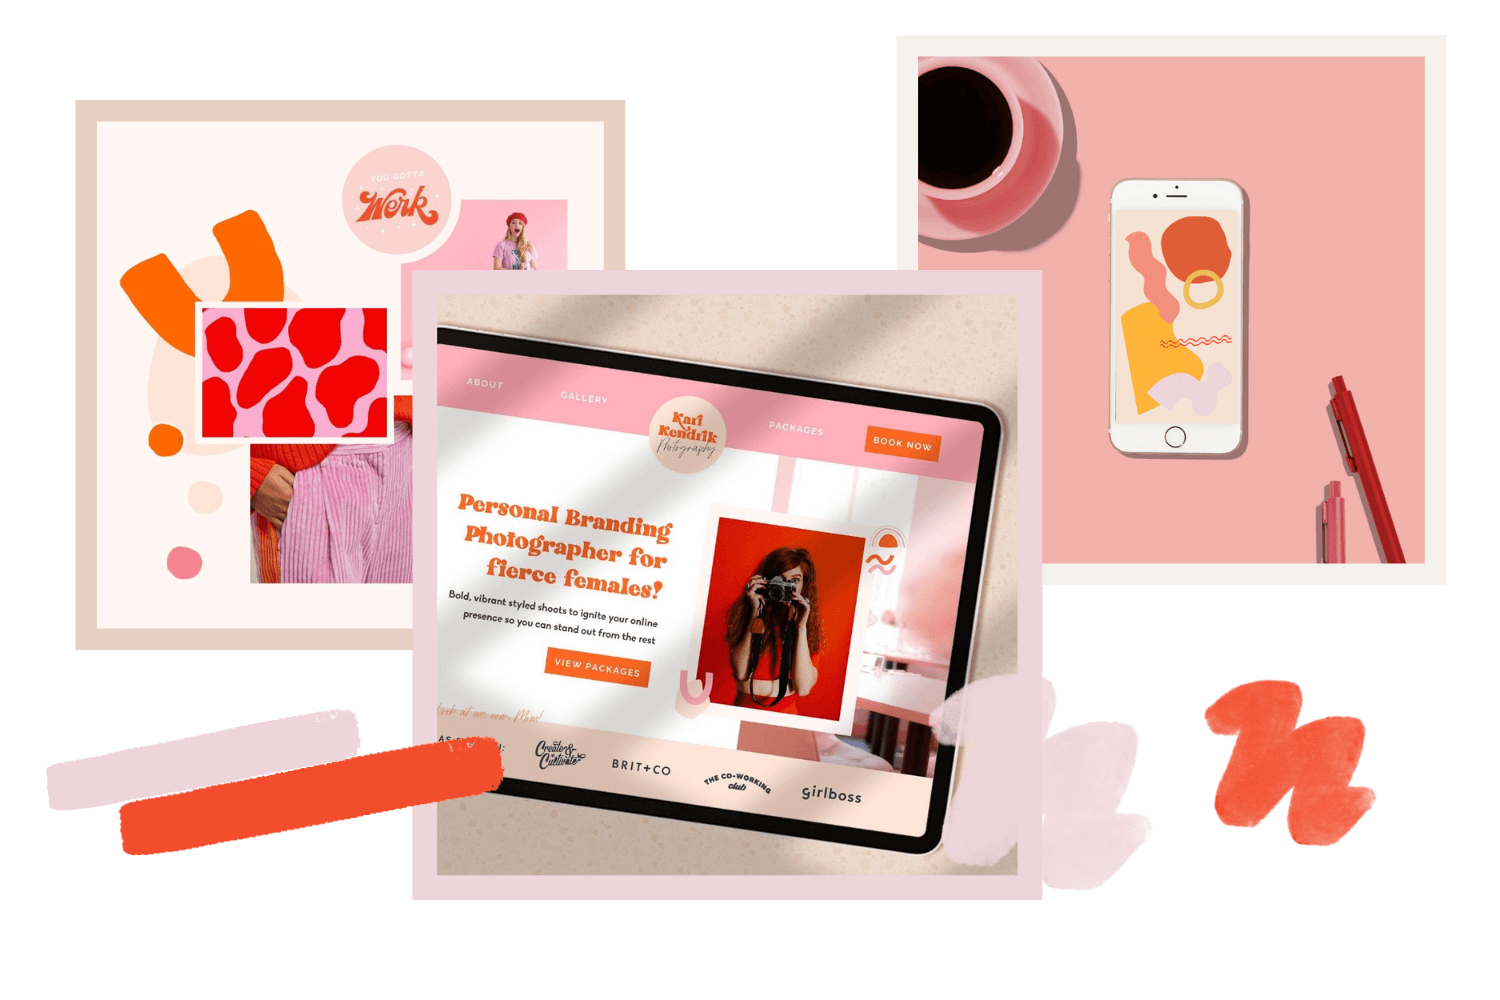
Here is a simple breakdown of everything you need to do to create an animated image just like the one above!
Here’s a live-action video walkthrough of me creating these images in Canva!
Setup free Canva Account
In the top right, click the button "Create a Design". I’d recommend around 900px wide (if it’s a full-width image or a banner image I’d go higher than this - around 1500px wide) then whatever height you’d like. Squarespace allows you to adjust the content height manually to work around the dimensions of your image to fit it best in your website.
On the left side, you'll see a tab that says "Elements", click it and search "frames" or "aesthetic frames" for you to add to your images.
Click the "Upload" tab and use the options Canva includes at the top or drag in the images you want to add to your graphic.
Drag these images from the file uploader over to your frames and add them in!
Add in your trademark brand elements to increase awareness. If you don't have any yet, then don't worry! Use that handy elements tab once again and search for little additions that you can use in your collage! This can be fun squiggles, illustrations, or patterns. If you want something a bit more custom than the options that Canva has to offer, you can head over to Creative Market and look around for something similar!
Duplicate the page and switch around the images on each different artboard to include everything you want to showcase in your slideshow.
If you're going to export it as a GIF from Canva (see last step!), then you can click the button in the top left that says, "effects" and add a select one type of animation to apply to all of your slides to increase the amount of movement on your website.
Export as a PNG, compress the file and then export as transparent background if you have a paid Canva account. If you don’t, make sure you match the background colour of the image to the background colour of the page on your website.
Add to Squarespace following the steps above if you’re using Squarespace 7.0. Read the steps below to see how to do this in Squarespace 7.1.
Make sure your images are all below 500kb! You can do this easily by dragging all of your images into TINY PNG to compress further without comprising the quality of your images. Small image sizes are important for SEO so that your site can load fast for future website visitors. We're all super busy and have lots on our minds, so a fast-loading website will catch people's attention and keep them from leaving your site before it even loads!
How to make a moving image animation effect in Squarespace 7.1
Now the newest version of Squarespace 7.1 only allows gallery blocks on blog, events, and product pages. If you’re using Squarespace 7.1, don’t worry, there's another way to achieve this effect using a gallery section.
Watch a quick video walkthrough or follow the step-by-step instructions below showing exactly how to do this:
Pick around 3-5 images you want to use
Go to the backend of your Squarespace website (simply type in your URL and then hit the escape key to get there fast!)
Go to the page where you want to add in your animated image
Click on an insert point and select ‘Add Section’
Select ‘Gallery’ - Slideshow Simple
Click on the image icon, delete placeholder images and upload your own images
Click on the pencil icon and make sure the control’s dropdown is set to ‘none’
Make sure captions and thumbnails are switched off
Make sure autoplay is switched on
Adjust the slide-duration speed. 3-5 seconds is usually a good starting point - if you have text or specific details in the images, then you may need to add a few seconds on
Feel free to play around with animation styles if you want to add an extra level of fun to your animation!
Hit save and you’re done!
I've been working hard behind the scenes on my Stand Out Squarespace templates to add in all sorts of easy yet stunning unique touches to your future website! These are a great alternative for creative female entrepreneurs and small biz owners who aren't ready to invest in totally custom design but need an awesome online presence. If you’re looking to stand out from the crowd with a creative, colourful, feminine website design then these are for you! Click below to get on the waitlist!
PSSST….The Kurly Creative Squarespace + Canva Template Shop is here!
Before you go, I wanted to let you know I’ve launched a template shop selling website, branding & social media templates for new business owners!
Head on over to Creative Market to check out all the products! 👇

Did you like this post? Then pin it to Pinterest! 👇
